Hardscaping is an essential aspect of landscape design that involves incorporating non-plant elements like patios, walkways, and retaining walls into your outdoor space. These features not only enhance the functionality and aesthetics of your yard but also increase its value. In this comprehensive guide, we will explore the basics of hardscaping, including step-by-step tutorials, material comparisons, and design tips to help you create the perfect outdoor environment.
Understanding Hardscaping
What is Hardscaping?
Hardscaping refers to the use of hard materials such as stone, brick, concrete, and wood to create functional and decorative elements in a landscape. Unlike softscaping, which involves plants and other organic materials, hardscaping provides structure and definition to your outdoor space.
Why Hardscaping Matters
Incorporating hardscape elements into your yard offers several benefits. It provides durable and low-maintenance solutions for outdoor living, improves accessibility, and helps manage erosion and drainage. Moreover, hardscaping can create distinct areas for different activities, enhancing the overall usability and appeal of your landscape.
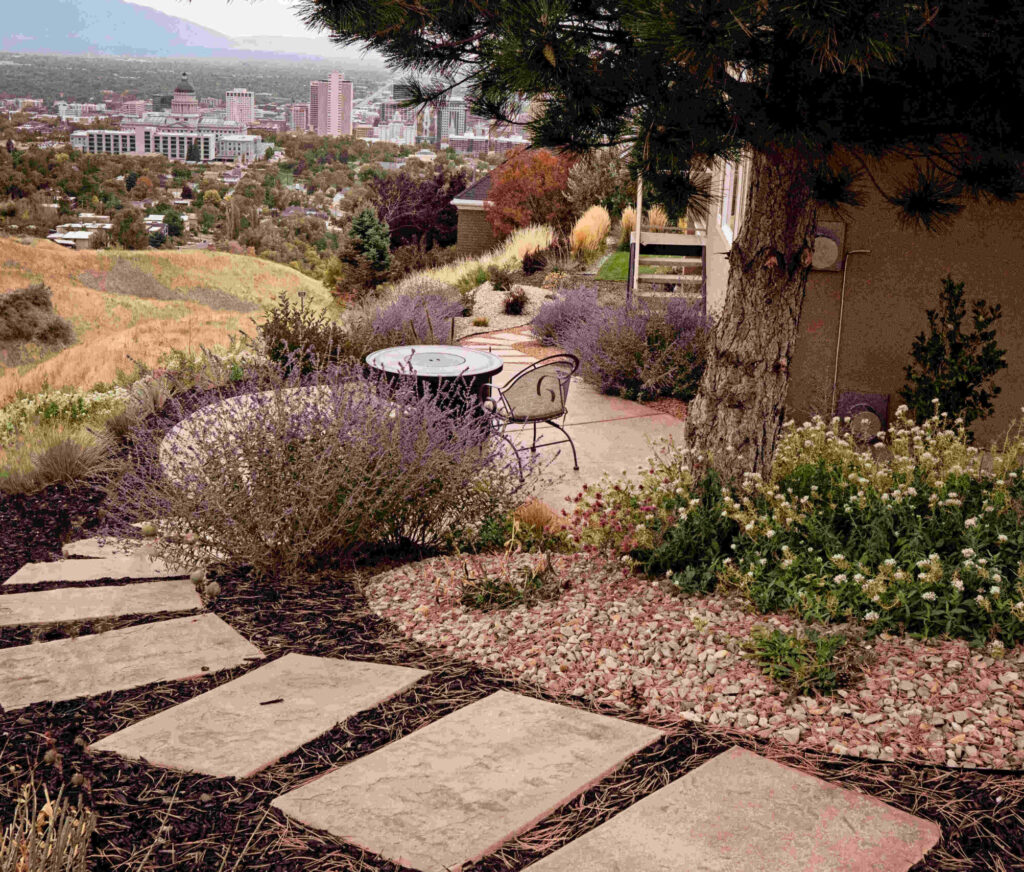
Adding Patios
Step-by-Step Patio Installation
- Planning and Design
- Determine the purpose and size of your patio. Consider factors such as location, sun exposure, and intended use.
- Sketch a layout and choose a material that complements your home’s architecture and landscape style.
- Preparing the Site
- Mark the patio area using stakes and string.
- Excavate the site to a depth of 4-8 inches, depending on the material and desired thickness.
- Laying the Base
- Add a layer of gravel or crushed stone to the excavated area, compacting it firmly.
- Spread a layer of sand over the gravel, ensuring a smooth and level surface.
- Installing the Patio Material
- Lay the chosen patio material (pavers, bricks, or stones) in the desired pattern.
- Use a rubber mallet to set the pieces firmly into the sand.
- Fill gaps with sand or polymeric sand, sweeping it into the joints and misting with water to set.
- Finishing Touches
- Edge the patio with metal or plastic edging to keep the materials in place.
- Add furniture, plants, and accessories to complete the look.
Material Comparisons for Patios
- Concrete: Durable, versatile, and available in various finishes and colors. Ideal for modern and minimalist designs.
- Pavers: Interlocking pieces that come in different shapes, sizes, and materials. Easy to install and replace, suitable for any style.
- Natural Stone: Offers a timeless and elegant look. Available in flagstone, slate, and other types. Requires more maintenance and higher cost.
- Brick: Classic and traditional, bricks provide a warm and inviting appearance. Durable but can be prone to cracking in freeze-thaw cycles.
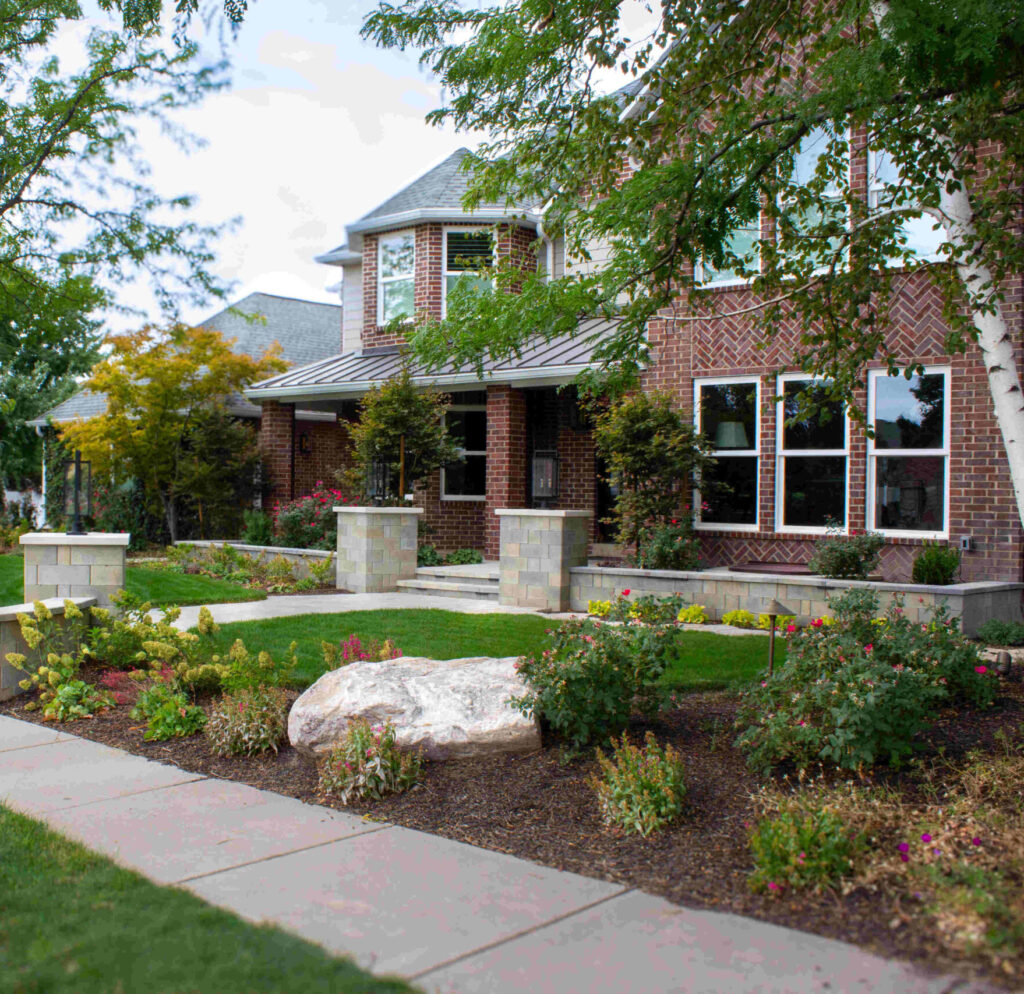
Incorporating Walkways
Step-by-Step Walkway Installation
- Planning and Design
- Choose the path and width of the walkway. Consider how it connects different areas of your yard.
- Select a material that complements your landscape and suits the walkway’s purpose.
- Preparing the Site
- Mark the walkway area with stakes and string.
- Excavate to a depth of 4-6 inches, depending on the material.
- Laying the Base
- Add a layer of gravel or crushed stone, compacting it firmly.
- Spread a layer of sand over the gravel, ensuring a smooth and level surface.
- Installing the Walkway Material
- Lay the walkway material (pavers, bricks, stones, or gravel) in the desired pattern.
- Use a rubber mallet to set the pieces firmly.
- Fill gaps with sand or gravel, ensuring stability.
- Finishing Touches
- Add edging to keep the materials in place.
- Incorporate lighting along the walkway for safety and aesthetics.
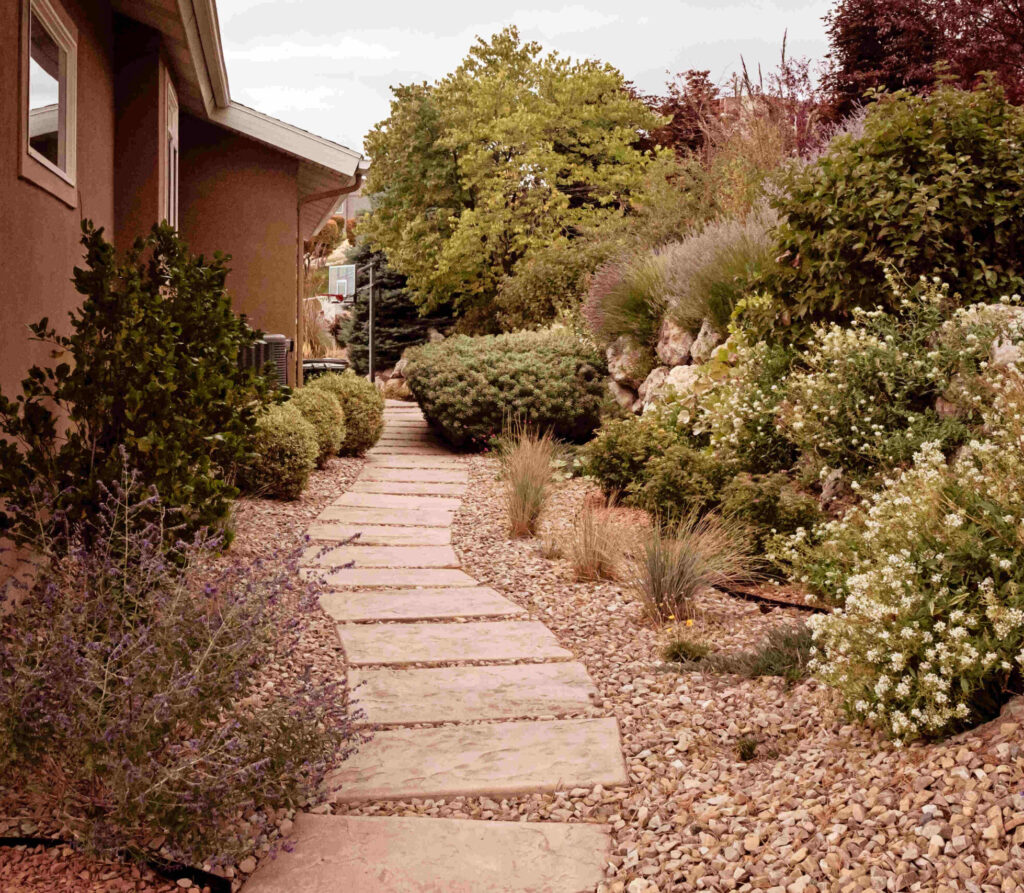
Material Comparisons for Walkways
- Gravel: Easy to install and inexpensive. Offers a casual and rustic look but requires regular maintenance to keep the path clear.
- Pavers: Durable and versatile, available in various designs. Suitable for high-traffic areas.
- Natural Stone: Provides a natural and organic feel. Requires more effort to install but offers a unique and timeless appearance.
- Brick: Classic and traditional, offers a charming look. Suitable for formal and informal gardens.
Building Retaining Walls
Step-by-Step Retaining Wall Installation
- Planning and Design
- Determine the location and purpose of the retaining wall. Consider factors such as soil type, slope, and drainage.
- Choose a material that complements your landscape and matches the wall’s intended function.
- Preparing the Site
- Mark the area with stakes and string.
- Excavate a trench to a depth of 6-12 inches, depending on the wall height and material.
- Laying the Base
- Add a layer of gravel or crushed stone to the trench, compacting it firmly.
- Ensure the base is level to provide a stable foundation for the wall.
- Building the Wall
- Lay the first row of retaining wall blocks, stones, or timbers, ensuring they are level.
- Continue stacking the material, staggering the joints for stability.
- Backfill with gravel or soil behind each layer to enhance stability and drainage.
- Finishing Touches
- Cap the wall with special capstones or the same material for a finished look.
- Plant ground cover or install decorative elements around the wall to integrate it into the landscape.
Material Comparisons for Retaining Walls
- Concrete Blocks: Durable and available in various styles and colors. Ideal for structural walls and terraces.
- Natural Stone: Offers a rustic and natural appearance. Requires more skill to install but provides a timeless look.
- Timber: Provides a warm and organic feel. Suitable for low walls and garden beds but may require treatment to prevent rot.
- Brick: Classic and formal, suitable for decorative walls. Durable but may require additional reinforcement for taller structures.
Conclusion
Incorporating hardscape elements like patios, walkways, and retaining walls into your yard can significantly enhance its functionality and aesthetic appeal. By following these step-by-step tutorials and choosing the right materials, you can create a beautiful and durable outdoor space that suits your needs and style. Start planning your hardscape projects today and transform your yard into a stunning and functional oasis.